![]() This is the second part of my CM Stacker mod. After the aesthetic changes made in the previous part I’ve worked on a much harder task: making the case the most silent as possible.
This is the second part of my CM Stacker mod. After the aesthetic changes made in the previous part I’ve worked on a much harder task: making the case the most silent as possible.
![]() Ecco a voi la seconda parte del mio mod del CM Stacker. Dopo le modifiche estetiche fatte nella parte precedente, ho lavorato alla parte più difficile: rendere il case il più silenzioso possibile.
Ecco a voi la seconda parte del mio mod del CM Stacker. Dopo le modifiche estetiche fatte nella parte precedente, ho lavorato alla parte più difficile: rendere il case il più silenzioso possibile.
_____________________________________________________________________
![]() To achieve this difficult target I have:
To achieve this difficult target I have:
- reduced the number of fans and damped them so they shouldn’t make more noise than the one that comes out from the airflow. I choose to have only one exhaust fan, plus, of course, the fans of the CPU, GPU and PSU;
- closed every single unused hole, so that the airflow must follow the path I’ve chosen;
- modified the case’s wheels with a rubber strip;
In order to avoid the risk of a poor airflow I’ve choosed to reopen the old lateral grid (as you can see, it was closed by a plexiglass panel), but I need a more efficient filters in order to avoid the dust collection inside the case.
You all know, of course, that having a good frame isn’t enough to make a good, silent computer: without the proper hardware my work would have resulted unuseful. So I’ve spent some time (actually more than “some”) to choose the hardware.
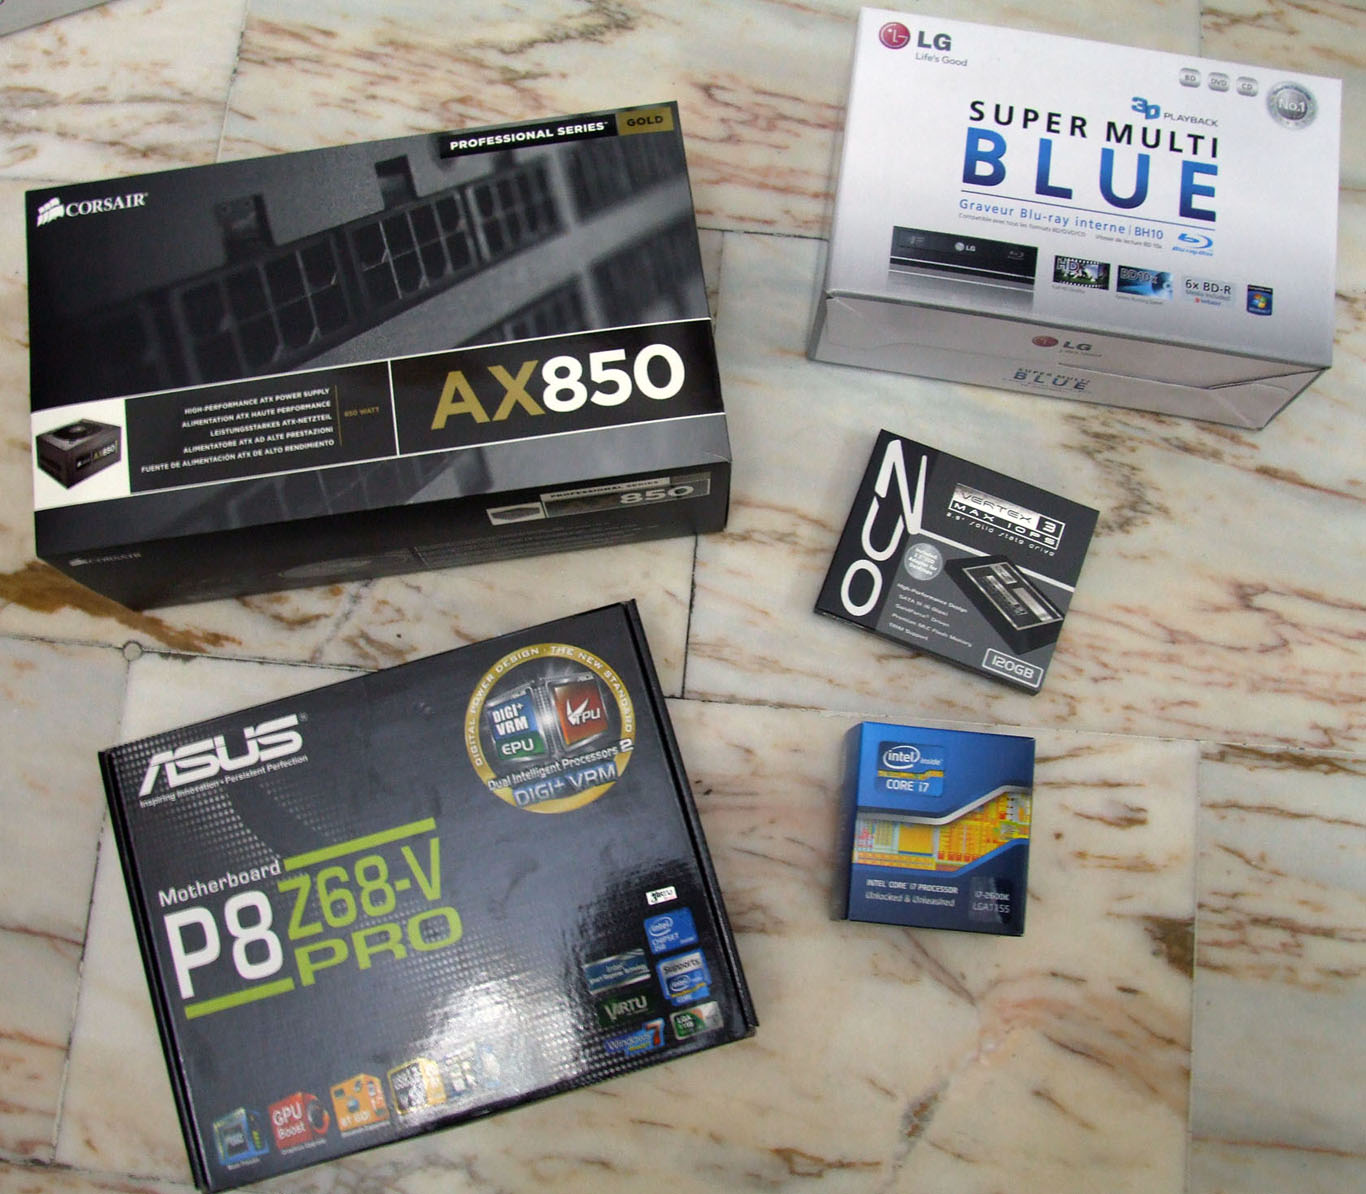
Before proceeding with the worklog, here there is the complete part list of my new bit-eater:
- Processor: Intel Core i7-2600K;
- CPU heatsink: Zalman CNPS 9900;
- Motherboard: Asus P8Z68-V PRO;
- RAM: Corsair Vengeance 16 Gb;
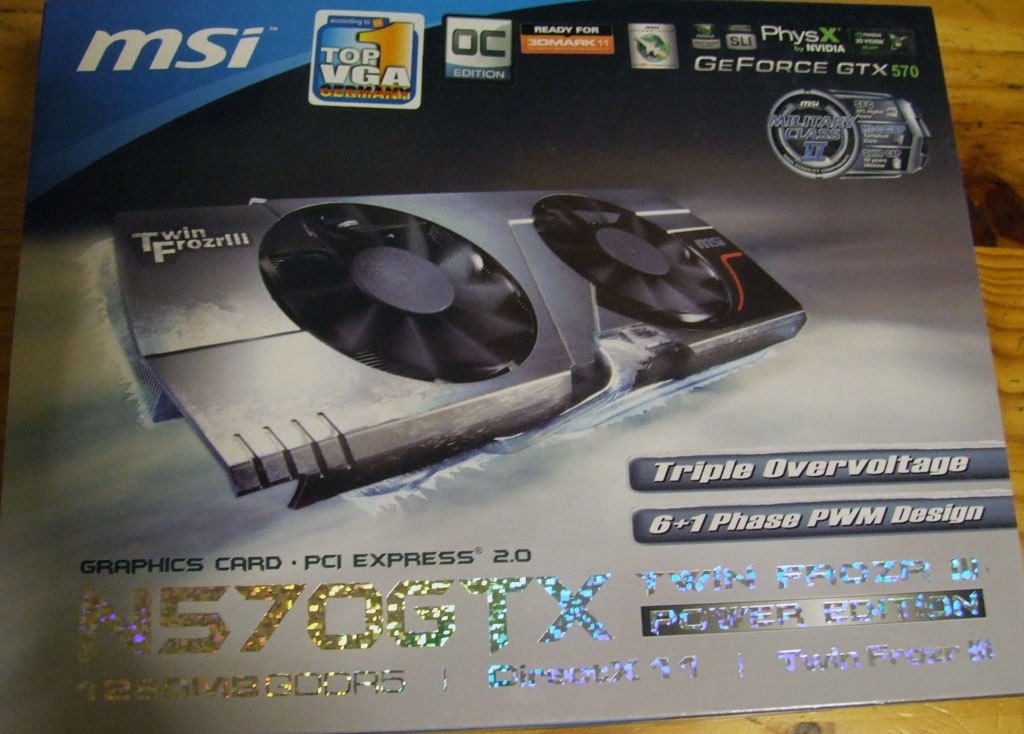
- VGA: MSI GeForce GTX570 TwinFrozrIII;
- SSD: OCZ Vertex 3 max iops ed, 120 Gb;
- PSU: Corsair AX850;
Furthermore, there is my “old” HDD, WD Caviar Green 1Tb, that will handle data and games.
![]() Per riuscire nel mio intento ho:
Per riuscire nel mio intento ho:
- ridotto il numero di ventole e smorzato le stesse, in modo tale che non facciano molta più rumore dell’aria che spostano. Ho scelto di avere unasola ventola di estrazione, in aggiunta, ovviamente, alle ventole di CPU, GPU e alimentatore;
- chiuso ogni singolo foro del case non utilizzato, in modo tale che l’aria deve necessariamente seguire il percorso che ho scelto;
- modificanto le ruote del case con delle strisce di gomma;
Per evitare di avere, a case ultimato, un basso flusso d’aria, ho scelto di riaprire la griglia laterale (che in precedenza era chiusa da un pannello di plexiglass), ma avrò bisogno di filtri dell’aria più efficienti, per evitare di trasformare l’interno del pc in un cumulo di polvere nel giro di poco tempo.
Come saprete avere una buona “cornice” non è sufficiente per avere un buon computer silenzioso: senza i pezzi giusti il mio lavoro sarebbe stato inutile. Per questo ho passato un po’ di tempo (a dir la verità più di “un po’”…) per scegliere l’hardware.
Prima di procedere con il worklog, quindi, ecco la lista completa delle parti del mio nuovo mangiabit:
- Processore: Intel i7-2600K;
- Dissipatore CPU: Zalman CNPS 9900;
- Scheda Madre: Asus P8Z68-V PRO;
- RAM: Corsair Vengeance 16 Gb;
- VGA: MSI GeForce GTX570 TwinFrozrIII;
- SSD: OCZ Vertex 3 max iops ed, 120 Gb;
- PSU: Corsair AX850;
Inoltre ci sarà il mio “vecchio” HDD, un WD Caviar Green da 1 Tb, che gestirà i dati e le installazioni dei videogiochi.
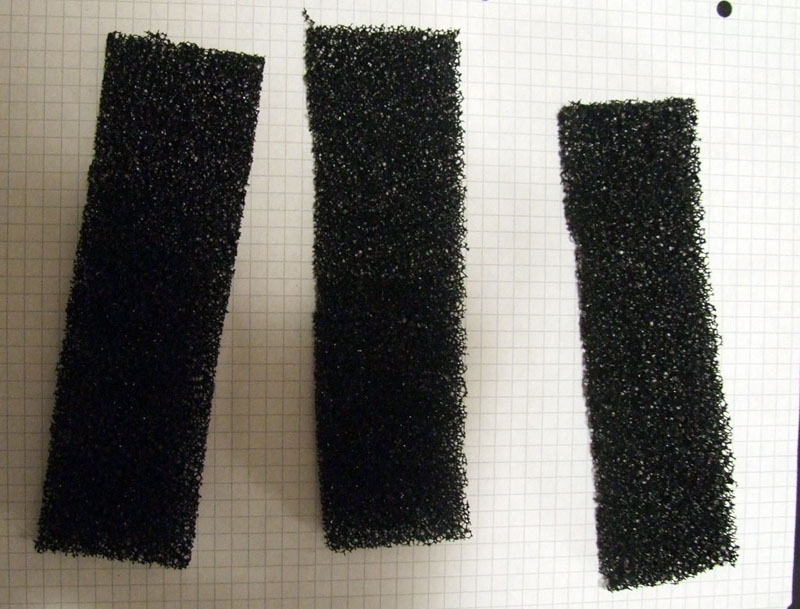
![]() First of all the air filters. The old filters were really too old, they were weak and full of holes. The filters for pc are quite expensive, especially if you need a lot of them, and not just to cover a single fan. So I started to search, and finally found the right material. It’s an anti-mould mat for the fridge, but actually it is the same kind of plastic of the original filters, just a little more dense and thick. The black one is the original, while the green is the anti-mould mat:
First of all the air filters. The old filters were really too old, they were weak and full of holes. The filters for pc are quite expensive, especially if you need a lot of them, and not just to cover a single fan. So I started to search, and finally found the right material. It’s an anti-mould mat for the fridge, but actually it is the same kind of plastic of the original filters, just a little more dense and thick. The black one is the original, while the green is the anti-mould mat:
![]() Innanzi tutto i filtri dell’aria. I vecchi filtri erano davvero troppo vecchi, deboli e pieni di buchi. I filtri per pc sono generalmente costosi, in particolare quando ne servono molti, e non solo quelli necessari ad una singola ventola. Ho iniziato a cercare, ed infine ho trovato il materiale giusto. Si tratta di un tappetino antimuffa per il frigorifero, ma in effetti è lo stesso tipo di plastica usata per i filtri originali del case, soltanto un po’ più spessa e densa. Il filtro nero è l’originale, mentre il verde è il tappetino antimuffa:
Innanzi tutto i filtri dell’aria. I vecchi filtri erano davvero troppo vecchi, deboli e pieni di buchi. I filtri per pc sono generalmente costosi, in particolare quando ne servono molti, e non solo quelli necessari ad una singola ventola. Ho iniziato a cercare, ed infine ho trovato il materiale giusto. Si tratta di un tappetino antimuffa per il frigorifero, ma in effetti è lo stesso tipo di plastica usata per i filtri originali del case, soltanto un po’ più spessa e densa. Il filtro nero è l’originale, mentre il verde è il tappetino antimuffa:
![]() If the green color is perfect for the vegetables sector in the fridge, I can’t said the same for my Stacker…
If the green color is perfect for the vegetables sector in the fridge, I can’t said the same for my Stacker…
![]() Se il colore verde è perfetto per lo scomparto verdure in frigo, non posso dire altrettando per il mio Stacker…
Se il colore verde è perfetto per lo scomparto verdure in frigo, non posso dire altrettando per il mio Stacker…
![]() This looks ugly even ‘cause one could see the green color from the outside. I tried to paint them, hoping that the paint did not cover any “hole” and guess what? It worked!
This looks ugly even ‘cause one could see the green color from the outside. I tried to paint them, hoping that the paint did not cover any “hole” and guess what? It worked!
![]() Tutto ciò è reso ancora più terribile dal momento che si può vedere il colore verde dall’esterno del case. Ho provato a colorare i filtri, sperando che la vernice non coprisse nessun buco e indovinate un po’? Ha funzionato!
Tutto ciò è reso ancora più terribile dal momento che si può vedere il colore verde dall’esterno del case. Ho provato a colorare i filtri, sperando che la vernice non coprisse nessun buco e indovinate un po’? Ha funzionato!
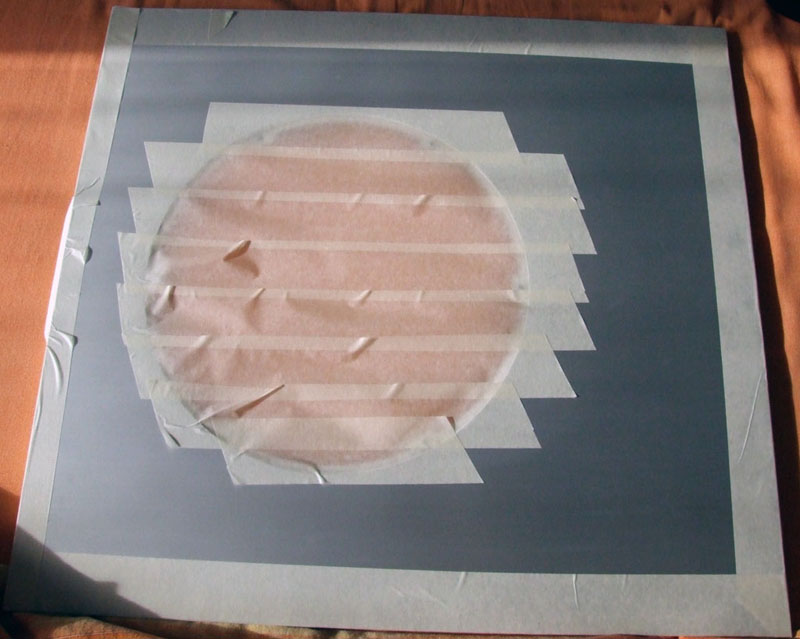
![]() Now there are a last two or three paint jobs to do, before starting with the cable harness:
Now there are a last two or three paint jobs to do, before starting with the cable harness:
![]() Ora non restano che due o tre lavoretti di verniciatura, prima di passare al cablaggio:
Ora non restano che due o tre lavoretti di verniciatura, prima di passare al cablaggio:
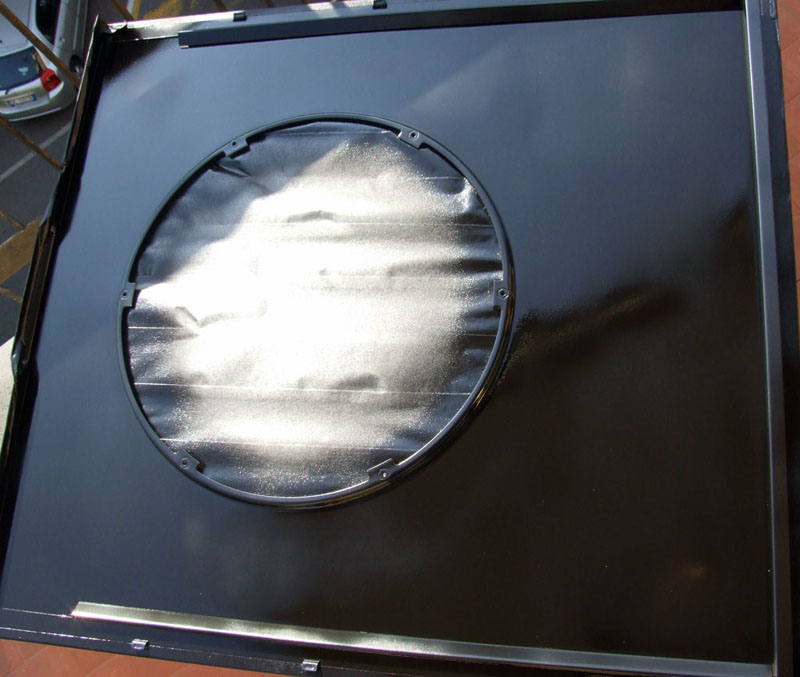
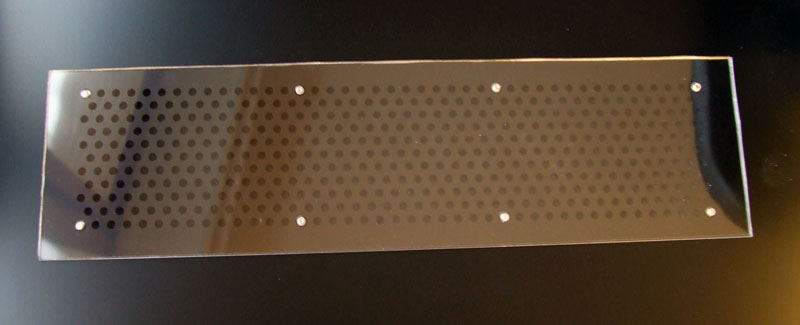
![]() I think that’s one of my best spray paint ever: even if the surfaces were large the color is uniform and without halos. To avoid the air (and the dust) could enter from the right side of the case (through the grill) I’ve screwed a plexiglass panel inside:
I think that’s one of my best spray paint ever: even if the surfaces were large the color is uniform and without halos. To avoid the air (and the dust) could enter from the right side of the case (through the grill) I’ve screwed a plexiglass panel inside:
![]() Penso davvero che questa sia stata una delle mie migliori pitture di sempre: anche se la superficie era molto ampia il colore è uniforme e senza aloni. Peccato che nessuno lo noterà mai =P. Per evitare che l’aria (e la polvere) entrassero dalla parte destra del case (attraverso la griglia con i buchi rotondi) ho avvitato un piccollo pannello in plexiglass all’interno:
Penso davvero che questa sia stata una delle mie migliori pitture di sempre: anche se la superficie era molto ampia il colore è uniforme e senza aloni. Peccato che nessuno lo noterà mai =P. Per evitare che l’aria (e la polvere) entrassero dalla parte destra del case (attraverso la griglia con i buchi rotondi) ho avvitato un piccollo pannello in plexiglass all’interno:
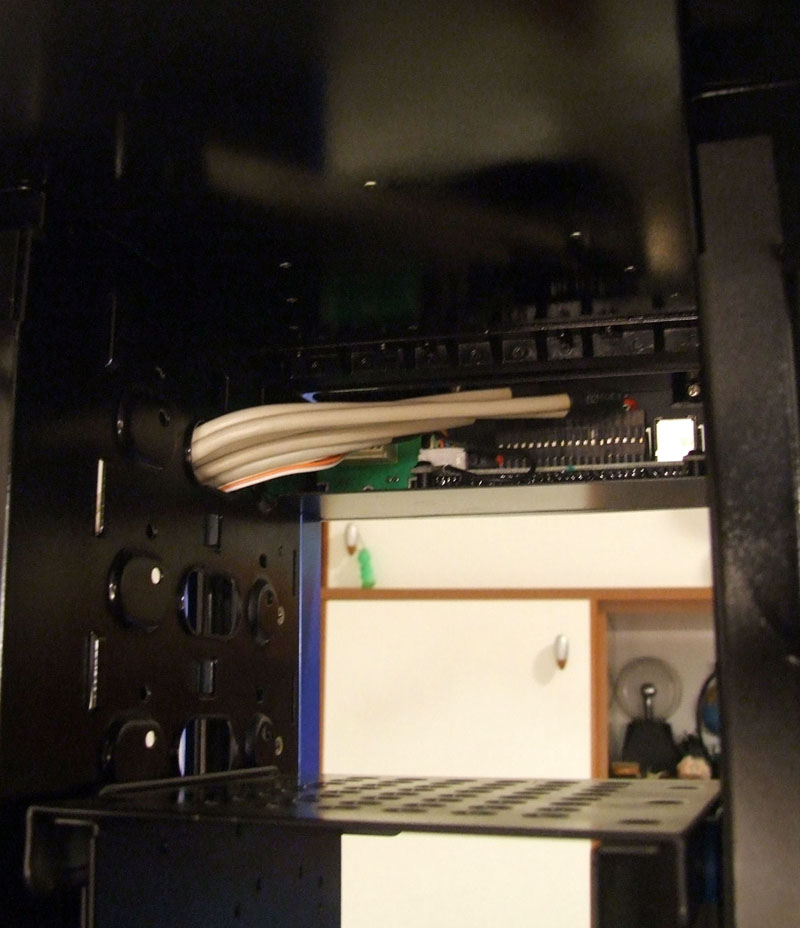
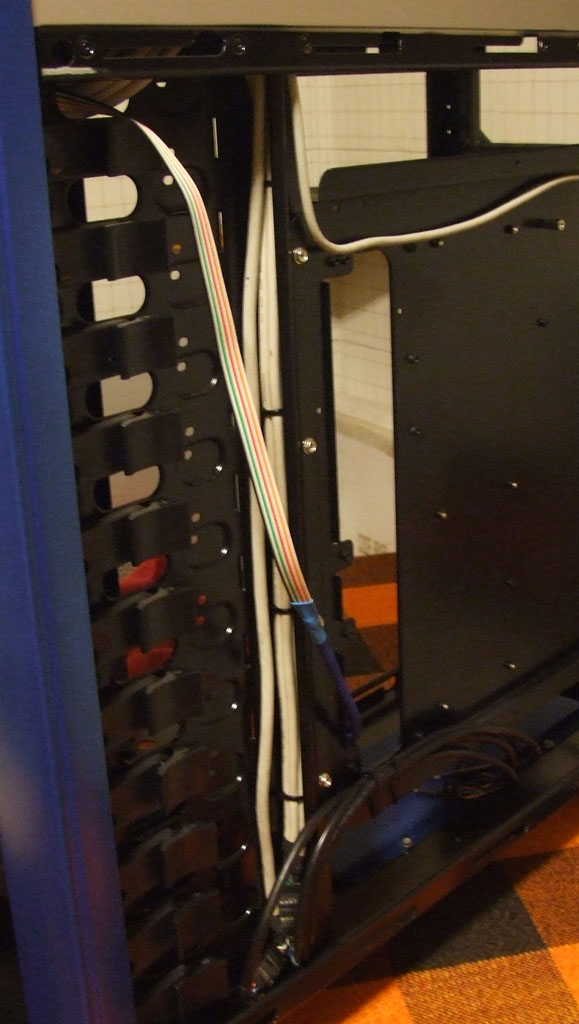
![]() I want to hidden all the front panel cables, so I let them to pass behind the “drive column” to reach an otherwise unused zone of the case:
I want to hidden all the front panel cables, so I let them to pass behind the “drive column” to reach an otherwise unused zone of the case:
![]() Voglio nascondere tutti i cavi del pannello frontale, pertanto li farò passare dietro la colonna costituita dal supporto per i drive, zona che altrimenti sarebbe rimasta inutilizzata.
Voglio nascondere tutti i cavi del pannello frontale, pertanto li farò passare dietro la colonna costituita dal supporto per i drive, zona che altrimenti sarebbe rimasta inutilizzata.
![]() Here is a zoom of the extension cables. Yes, even if i do not have the motherboard now, I already knows where are the connections.
Here is a zoom of the extension cables. Yes, even if i do not have the motherboard now, I already knows where are the connections.
![]() Un piccolo zoom del cablaggio delle prolunghe per i cavi del pannello frontale. Certo, anche se non ho ancora la scheda madre so già sove sono i connettori del pannello frontale.
Un piccolo zoom del cablaggio delle prolunghe per i cavi del pannello frontale. Certo, anche se non ho ancora la scheda madre so già sove sono i connettori del pannello frontale.
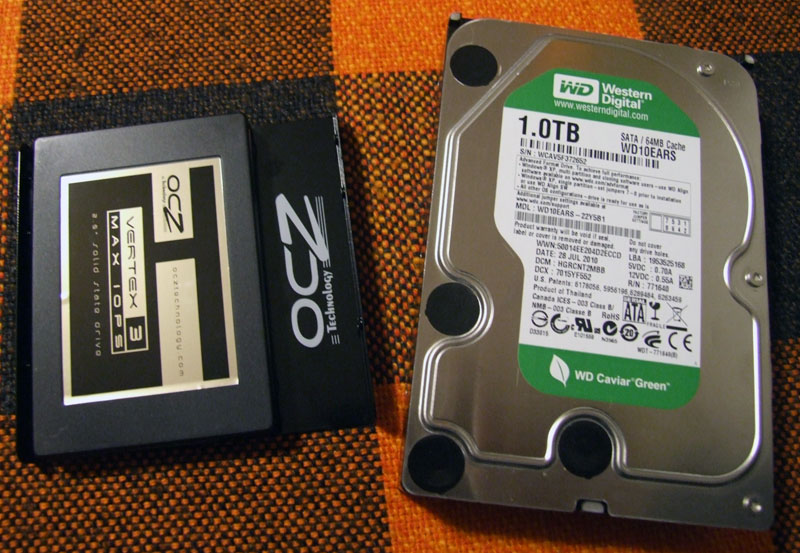
![]() Here is a picture of the two technologies side by side, and also the total physical memory of my pc.
Here is a picture of the two technologies side by side, and also the total physical memory of my pc.
![]() Ecco un’immagine delle due tecnologie a confronto, ed anche della totale memoria fisica del mio pc.
Ecco un’immagine delle due tecnologie a confronto, ed anche della totale memoria fisica del mio pc.
![]() I mounted the HDD in the upper position, so it can dissipate heat in a better way:
I mounted the HDD in the upper position, so it can dissipate heat in a better way:
![]() Ho installato l’HDD sopra l’altro, in modo che possa disspare al meglio il calore:
Ho installato l’HDD sopra l’altro, in modo che possa disspare al meglio il calore:
![]() I’m always been attracted from the motherboards, but when I opened the box I was really pleased to see that the colors of this one are really close to the ones I’ve choosen for my case. Furthermore I like the layout of that mobo.
I’m always been attracted from the motherboards, but when I opened the box I was really pleased to see that the colors of this one are really close to the ones I’ve choosen for my case. Furthermore I like the layout of that mobo.
![]() Sono sempre stato attratto dalle schede madri, ma quando ho aperto la scatola sono stato davvero contento nel vedere che i colori di questa sono molto vicini a quelli che ho scelto per il case. Inoltre mi piace il layout di questa scheda.
Sono sempre stato attratto dalle schede madri, ma quando ho aperto la scatola sono stato davvero contento nel vedere che i colori di questa sono molto vicini a quelli che ho scelto per il case. Inoltre mi piace il layout di questa scheda.
![]() You know, when I ordered the heatsink I knew it was big. But I didn’t expected it was so damn BIG! Anyway, I tested it a lot, with intense gaming, or intense benchmarking, but it always kept my CPU under 60°C. Furthermore, in windows is almost completely silent (I had to set some parameters in the BIOS, of course, but now it runs at 730 rpm in idle or low loads).
You know, when I ordered the heatsink I knew it was big. But I didn’t expected it was so damn BIG! Anyway, I tested it a lot, with intense gaming, or intense benchmarking, but it always kept my CPU under 60°C. Furthermore, in windows is almost completely silent (I had to set some parameters in the BIOS, of course, but now it runs at 730 rpm in idle or low loads).
![]() Sapete, quando ho ordinato il dissipatore sapevo che era grande. Ma non mi sarei mai aspettato che fosse COSI’ GRANDE! Ad ogni modo l’ho testato molto, in sessioni di gaming intense o durante benchmark, ma è sempre stato in grado di mantenere la CPU sotto i 60°C. Inoltre, nell’utilizo di windows è praticamente silenzioso (senza dubbio ho dovuto settare alcuni parametri nel BIOS, ma ora gira a 730 rpm in idle o basso carico).
Sapete, quando ho ordinato il dissipatore sapevo che era grande. Ma non mi sarei mai aspettato che fosse COSI’ GRANDE! Ad ogni modo l’ho testato molto, in sessioni di gaming intense o durante benchmark, ma è sempre stato in grado di mantenere la CPU sotto i 60°C. Inoltre, nell’utilizo di windows è praticamente silenzioso (senza dubbio ho dovuto settare alcuni parametri nel BIOS, ma ora gira a 730 rpm in idle o basso carico).
![]() Here you can see how are similar the colors of the motherboard and the case:
Here you can see how are similar the colors of the motherboard and the case:
![]() Qui si può notare quanto sono vicini i colori della motherboard a quelli del case:
Qui si può notare quanto sono vicini i colori della motherboard a quelli del case:
![]() The choice of the PSU was a real challenge. I wanted a PSU marked as 80+ GOLD, ‘cause I use my pc almost 18/24, but I also wanted a silent one. I think that this is the perfect PSU for my purposes. The fan do not starts while idle or low load, so it’s noiseless. When I play games I don’t bother of the fan’s noise.
The choice of the PSU was a real challenge. I wanted a PSU marked as 80+ GOLD, ‘cause I use my pc almost 18/24, but I also wanted a silent one. I think that this is the perfect PSU for my purposes. The fan do not starts while idle or low load, so it’s noiseless. When I play games I don’t bother of the fan’s noise.
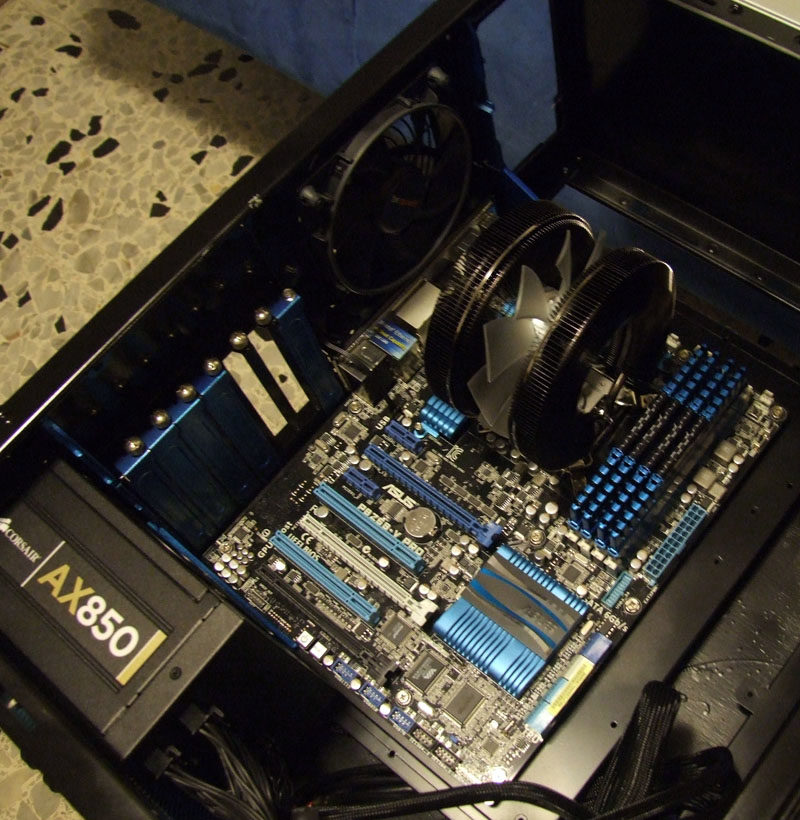
That is the final aspect of the inside. There is a cable that need to be routed behind the motherboard, but I need an extension for it.
![]() La scelta della PSU è stata davvero complessa. Volevo una PSU marchiata 80+ GOLD, perchè il mio pc è acceso quasi 18 ore su 24, ma volevo anche un modello silenzioso. Penso che questa sia la PSU perfetta per il mio scopo. La ventola non parte mentre il pc è in idle o a basso carico, pertanto è completamente silenzioso. Quando videogioco non mi preoccupa di certo il rumore della ventola della PSU, che comunque resta molto silenziosa.
La scelta della PSU è stata davvero complessa. Volevo una PSU marchiata 80+ GOLD, perchè il mio pc è acceso quasi 18 ore su 24, ma volevo anche un modello silenzioso. Penso che questa sia la PSU perfetta per il mio scopo. La ventola non parte mentre il pc è in idle o a basso carico, pertanto è completamente silenzioso. Quando videogioco non mi preoccupa di certo il rumore della ventola della PSU, che comunque resta molto silenziosa.
Questo è l’aspetto finale dell’interno. C’è ancora un cavo che deve essere fatto passare dietro la motherboard, ba ho bisogno di una prolunga che non avevo al momento della foto.
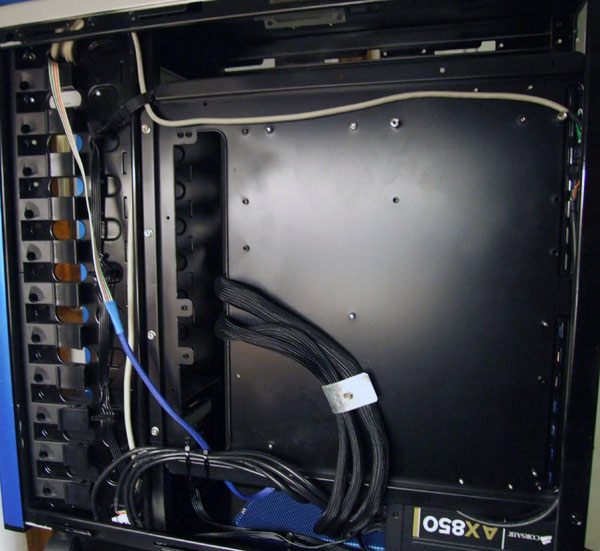
![]() The back of the case: as you can see I used a little metallic piece to hold the bigger cables in the right position.
The back of the case: as you can see I used a little metallic piece to hold the bigger cables in the right position.
![]() Il retro del case: potete vedere che utilizzato un piccolo pezzo di metallo per tenere i cavi più grossi in posizione corretta.
Il retro del case: potete vedere che utilizzato un piccolo pezzo di metallo per tenere i cavi più grossi in posizione corretta.
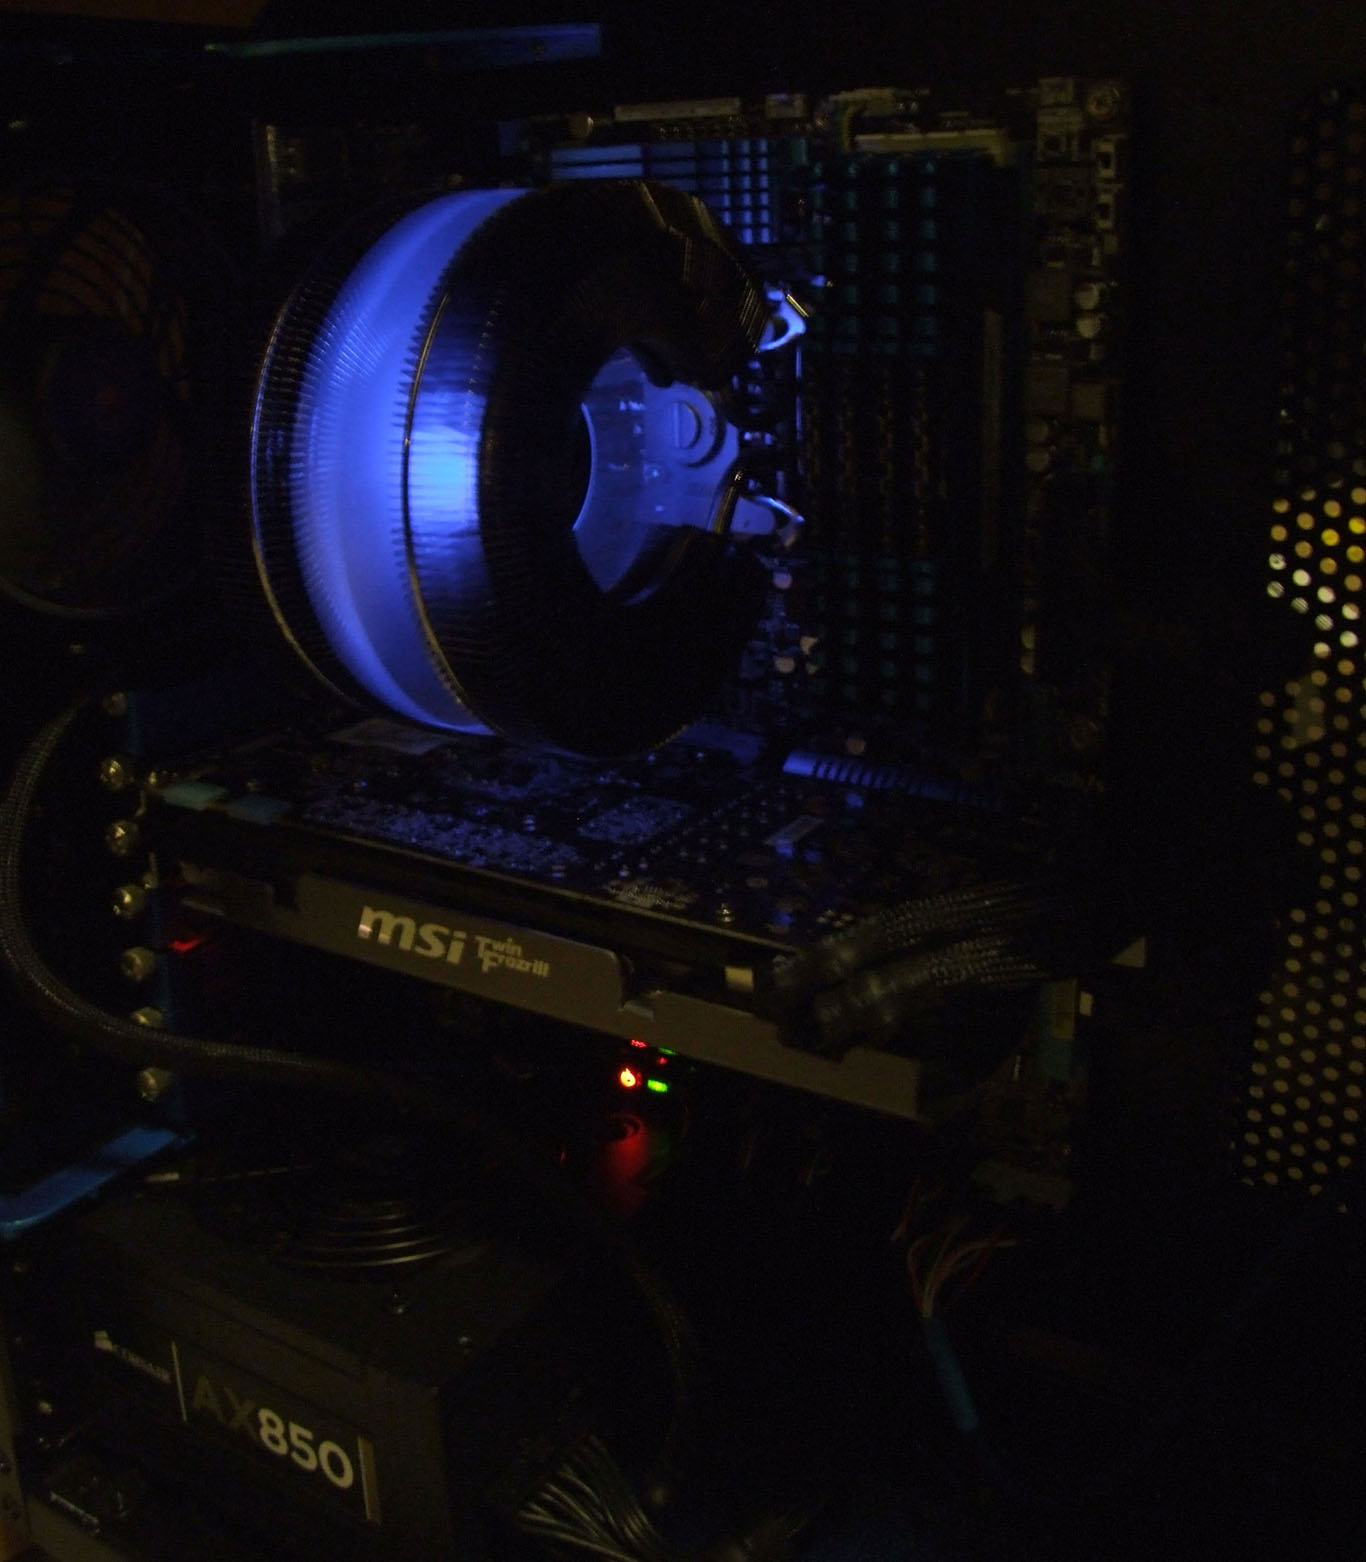
![]() The only light inside the case is the one mounted on the CPU fan. I like it. I don’t want my computer look like a disco.
The only light inside the case is the one mounted on the CPU fan. I like it. I don’t want my computer look like a disco.
![]() L’unica luce all’interno del case è quella montata sulla ventola del dissipatore della CPU. Mi piace. Non voglio che il mio pc sembri una discoteca.
L’unica luce all’interno del case è quella montata sulla ventola del dissipatore della CPU. Mi piace. Non voglio che il mio pc sembri una discoteca.
![]() If you liked my work don’t forget to click on the “like” button or leave a comment! It’s free! =)
If you liked my work don’t forget to click on the “like” button or leave a comment! It’s free! =)
![]() Se vi è piaciuto il mio lavoro non dimenticate di cliccare sul tasto “like”, o di lasciare un commento! E’ gratis! =)
Se vi è piaciuto il mio lavoro non dimenticate di cliccare sul tasto “like”, o di lasciare un commento! E’ gratis! =)












Lascia un commento